
This has to be one of the most straight forward jobs to do and instantly transforms the load area of your late model Sprinter. The owner of the vehicle managed to get hold of a used floor from a conversion specialist complete with cargo eyes and cups (These retain the OEM floor) The OEM part number sticker for the LWB floor is shown below.
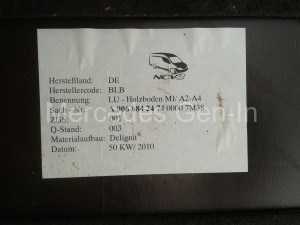
You will notice the Sprinter floor is made from a phenolic coated plywood that offers great resistance to wear and tear. Its two interlocking sections are made from Delignit plywood.
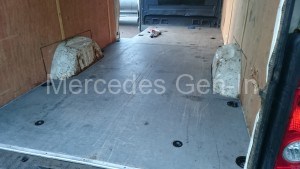
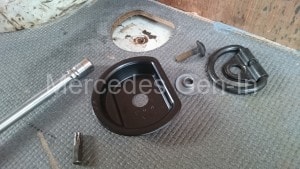
All that has to be done is to strip out the old floor covering (if you have it) and then remove the floor mounted cargo lashing eyes in all positions. Lay the rearmost section first, both sections have soundproofing material and edge packing stapled to the rear of each board. Once the rear section is in place drop the forward section in, aligning the 50mm overlap and rebate for a neat join closure. Now fit the special cargo eye cups followed by the spacer then eye. Fasten all parts to the floor using the original tapped holes in the floor with the torx head fixings.
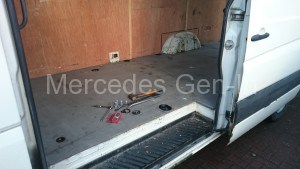
Job done and really easy to tidy up the floor area of any Sprinter. If you check your local area for body conversion specialists, the kind that fit out community busses and ambulances give them a call as they literally have or will know someone who has more OEM floors to get rid of than they can handle! that makes the flooring kit with fixings under £60.00 All ambulances, community busses and the like are stripped out from new and replaced with heavy duty flooring – hence the surplus availability if you ask around.
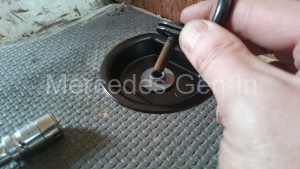
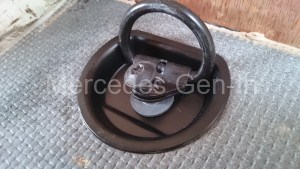
There are additionally four recessed 8mm threaded cup fixings without lashing eyes, these are positioned two forward near the side loading door and two rear near the rear loading doors. The purpose of these fixings is to secure the floor in the middle and prevent lifting/movement. The chances are if your van was not specified with a factory floor it will not have the threaded inserts in the floor to accommodate these four fixings. You will need to purchase a nut-sert tool (under £20 from EBay) and four 8mm threaded inserts.
Drill centrally a 10mm hole in each steel floor area, through into the box section chassis, accessed through the circular cut out areas in the OEM floor. Fit the thread insert to the insertion tool and crimp it up in a similar manner to that of a pop-rivet gun. Once the insert is deformed and crimped into the floor panel, unscrew out the tool from the insert and finally fit the hold down washers/spacers with their 8mm torx head pins. This fully completes the floor installation.