
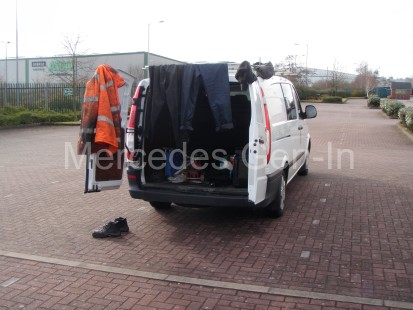
Probably one of the worst wet days we have had this year and I was involved in an emergency repair – A rear leaf spring had snapped on a clients LWB at the axle and needed replacing as the vehicle was required for its courier drops the next day. Ordinarily this would have been a job done in the workshop but the van was stranded at the yard and had to be fixed on-site. As you can see the weather was most welcoming ! – NOT…
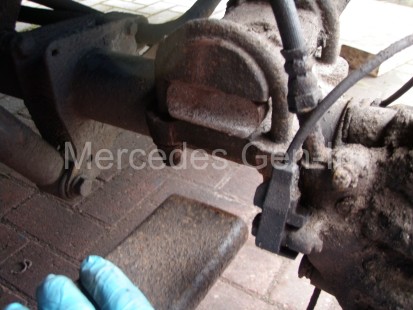
Spring snapped directly at the axle saddle
To complete this task you first need to firmly support the body and remove the road wheel. Although there are only 6 nuts between ‘fixed and removed’ on the rear spring, they have usually endured the most arduous conditions in their lifetime. Corrosion usually abounds on the U bolts, making the nuts ‘as-one’ with the saddle plates and in most cases very difficult to remove. The other 2 long bolts that pass through the spring bush eye and the rear shackle are equally in danger of being a nightmare to remove.
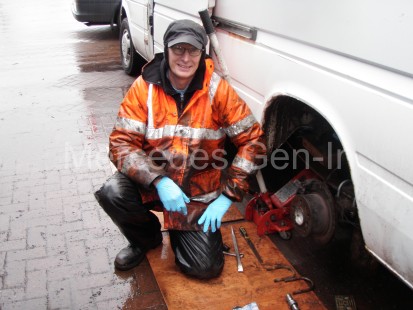
Here I am showing that it is just possible to carry a smile – even in this weather…
Starting with the forward bushing through bolt, 18/19mm combo spend as long with a wire brush and penetrant as you can, even apply a little heat from a blow lamp to taste. You will need a breaker bar on one end with a Hex socket and a good ratchet on the other to remove the nut. Leave the pin in place and move to the rear shackle. The through bolt lives in a recess on both sides of the shackle bush, and usually will need digging out of road muck on the outermost side to even find the nut! The bolt head is recessed into a pocket in the chassis on the other side, so access is only with a hex socket and short extension (Again 18/19mm size combination) The exposed thread on the inboard side with the nut will be badly corroded, it is impossible to get a wire brush or heat where it is needed so brute force is required. It is worth pointing out at this point that unless you have access to at least a new nut (possibly a new bolt too) do not attempt this, as you could be caught out: The rusty thread will rapidly disappear under the duress of force from a breaker bar! I rarely tackle this job without the essensial new pair of U bolts and nuts – doing so without at least these few spares to hand, is just asking for trouble so these parts should be added to your pre-job shopping list along with the spring.
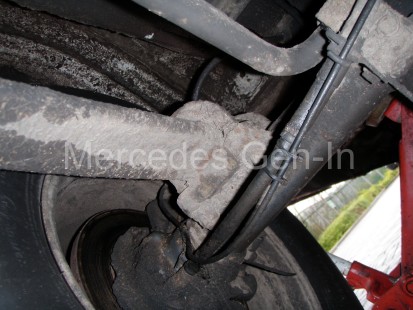
Corrosion abounds the spring components
The 19mm U bolt nuts will be stubborn to break, they either undo or shear off in the process due to the size of bar required to break them on their threads. Heat would be a real boon here, but sadly on-site repairs often don’t have access to oxy-acetelene tools! Once all 4 U bolt nuts are loose (or sheared) support the axle with a block of wood, lowering the jack so the axle is just in contact with the support. Remove the U bolt nuts completeley, strike the U bolts with a stout hammer up and down until the rust pocket breaks in the saddles allowing the fixings to be removed upward along with the upper saddle.
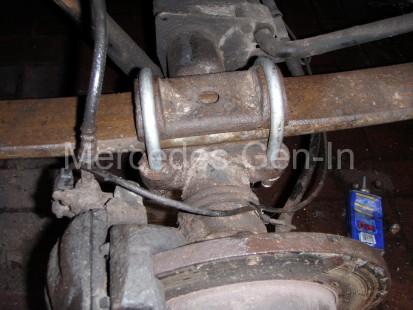
New axle U bolts fitted
Now jack up the vehicle slightly to allow the peg on the spring lower face to dislocate from the hole on the upper axle mount. Give yourself about 2-3 inches of air gap, before attempting the removal of the two long spring eye and shackle bolts. Once these are removed the spring, or what is left of it can be removed with a lever or bar. The spring is extracted out from beneath the rear of the van.
Before assembly check the condition of the nuts and threads on the spring shackles, front and back. If they are poor replace them if OK, then reuse them. Feed in the new or replacement spring from the rear and locate the forward bush and eye using a spike or tapered ‘podger’ (we had a second hand spring that had the rear shackle already fitted, you may have to transfer and fit your existing hanger to your new spring – using the same caveats regarding the nut and bolt condition as above) Once the front eye is in place fit the rear through bolt in the same fashion. Before torquing up the front and rear fixings lower the jack slightly so the spring peg engages with the hole in the axel. Wiggle and lever the spring/axle to locate this if it is not aligned correctly.
Now fit the spring upper saddle and U bolts, once in position tighten the shackles/eye bolts fully and remove the axle support. Once the 4 U bolt nuts are fixed to final tightness, refit the road wheel and lower the vehicle to the ground.
Job done – hopefully in better weather than I had!
Typically a couple of hours after the job was completed the weather improved – Dry off the kit!
Nice Read,
Got an auction 4×4 313Cdi 2002 model van way up north in Norway and nursed it 18 hours drive down towardss Oslo region.
Wondered why it was leaning to the right while parked and found the broken leaf spring.
Luck hasd it break right in the middle so it was drivable.
I can not see paying soo much for an original part that breaks so looking for an aftermarket set or a used original.
Can you point me to anyone who sells cheaper after market springs for teh t1n with single leaf?
Warn Regards from Norway